I tried taking on a rewiring project for my old RV. It appears I bit off more than I could chew for my experience level and the time I had. The weather was a partial factor. Anyway, it’s far from done. I did learn a lot though and I’m keen to continue ‘cause ’lectricity is fun!
Here’s what I did accomplish:
read two different books on 12 volt electronics
drew several wiring diagrams
ordered and bought a lot of electrical components from online and local sources
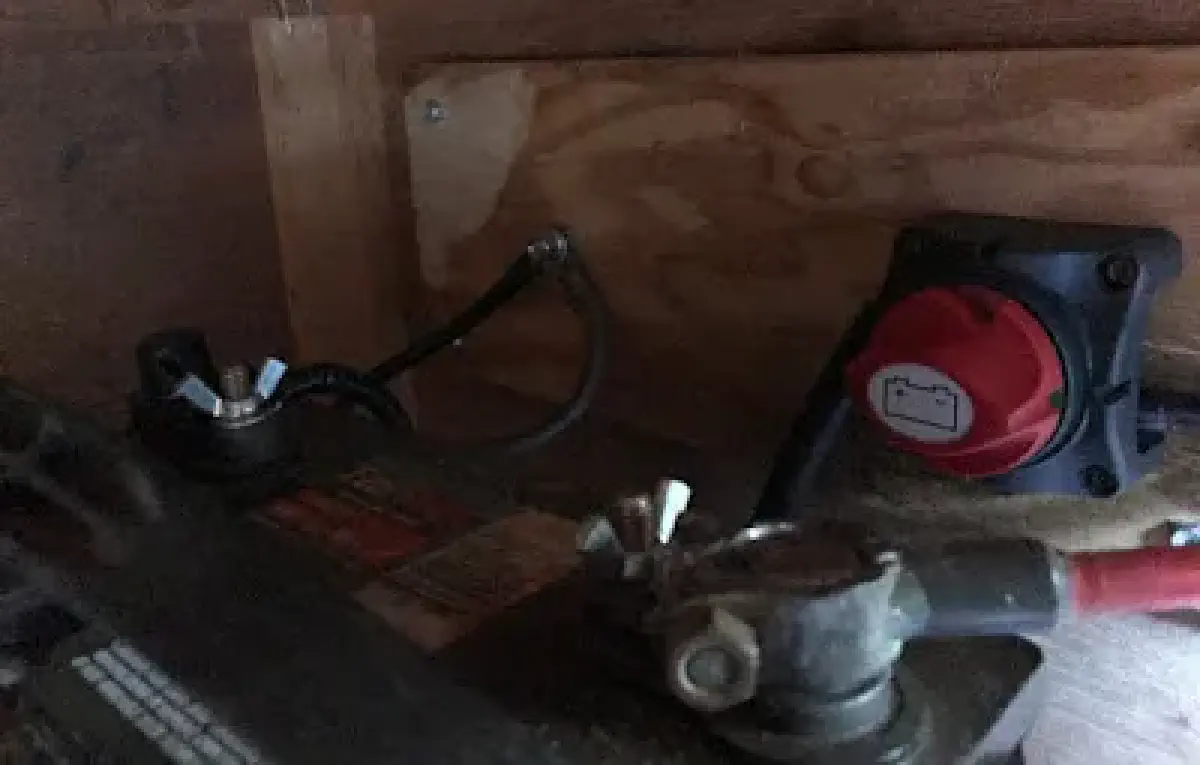
completed the on/off switch to connect one of the house batteries to the chassis battery allowing charging of that battery by the alternator (photo below)
did some carpentry to allow for separation of batteries from the charger and a mounting platform for the other 2 switches
installed 3 out of 6 (or so) LED lights in the coach, replacing the old incandescent units and verified they are working
created an electrical requirement worksheet

What remains:
more LED lights
bring in the other house battery
mount the charger and the 2 switches
wire them up properly
remove old fuse box and replace with the new fuse system
mount negative buss bar and wire it
stretch new thicker wire from the battery bank under the coach and up to the new fuse box
cut out and mount the USB socket panel, connect to fuse box
remove the old refrigerator and a new 12 volt model adding 12V and 120V service
extend 120V line to the new charger (next to fridge)
Down the road:
- solar!
So, that’s it! It was fun and instructional, but time to move on to the next project.